If you are also interested in sewing and sewing and you enjoy sewing a simple bag for yourself, follow this article that is a simple bag sewing tutorial to the end.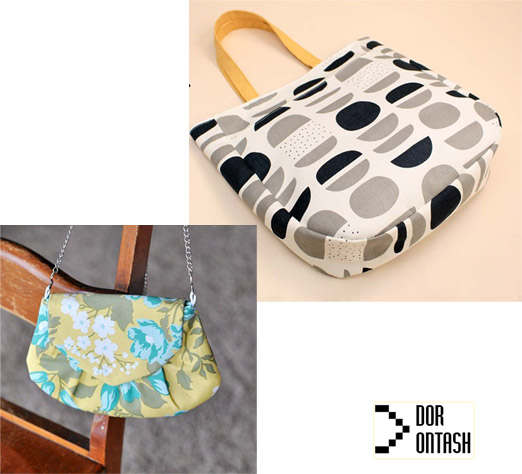
Art and handicrafts always have a higher value than industrial and factory goods. We give you a step by step tutorial on how to make a simple and handmade fabric bag, while this bag is very roomy and very easy to carry.
Many people in all aspects of creativity have to create new and colorful things, since art and creativity are always important for an extraordinary work, it distinguishes you from other people, so to sew this bag, you need a series of simple tools and You have little money, make sure that if you spend time and of course try, you will definitely become the best in any field of work and job you want. You can use this bag for places such as: picnic, sea, travel, etc., which need handy accessories.
video of making handmade Women’s bag
First training | making handmade Women’s bag
Here we have put the step-by-step training of the bag for you dear ones. As we said, you can learn how to make a simple and suitable lining bag with a little precision and without needing a lot of money, and at the same time, you can make other models of bags as well. So stay with us.
Equipment needed for bag sewing training:
- Cotton fabric in dimensions of 70 x 45 cm
- Complementary cotton fabric for the inside of the bag in dimensions of 70 x 45 cm
- Adhesive layer or lining with dimensions of 70 x 45 cm
- Linen tape for bag handle/100 cm
- fabric scissors (rotary cutter)
- Thread/as much as needed
In the first step of sewing the bag:
At the beginning of the work, cut the inner and outer fabrics you want into two rectangles measuring 35*45 cm and cut two rectangles of the same size from the adhesive layer, and then turn the fabric strip into two 50 cm parts. .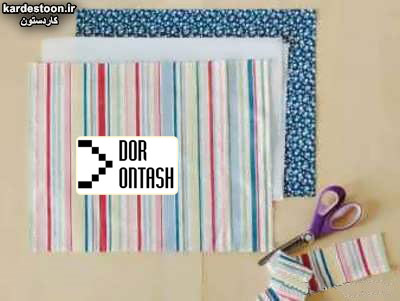
Now, to make the base of the bag, it is necessary to separate the lengthwise part of the rectangles into a square size of 5 x 5 from both corners of the fabric and the adhesive layer and cut it with scissors.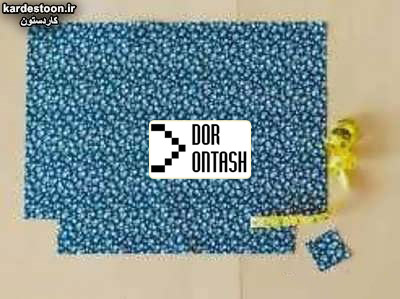
Sew the two pieces of outer striped fabric on the back and then place the two pieces of lined outer fabric on top of each other from the main side ( front part ) and start sewing the fabrics by observing one centimeter from each side of the bag. . Pay attention that you don’t sew only the sides and the bottom of the bag and the upper part of the fabric and the two corners below and leave it open.
Now, as you can see in the picture below, align the unstitched seams and sew with a distance of one centimeter.
At this stage of sewing a simple handbag, you need to sew the sides and corners of the inner fabric. For this purpose, it is necessary to place the floral fabrics that you have chosen for the inside of the bag in front of each other from the upper side and fix them with a needle and repeat the previous sewing steps.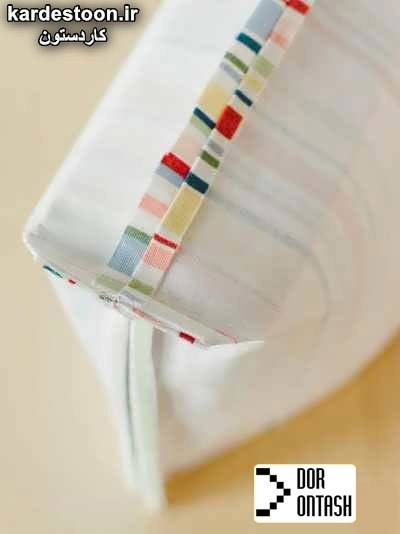
Now that you have finished sewing the inner fabric of the flower, turn it over and place it inside the outer fabric, then install the linen tape as shown in the picture, one on the front of the bag and the other on the back of the bag and between the inner fabric. and fasten with a needle at a distance of 10 cm from the edges.
In the next step of sewing a simple bag, sew one centimeter all around the upper part of the bag and leave the parts between the two linen strips open in order to remove the handles and turn the bag over.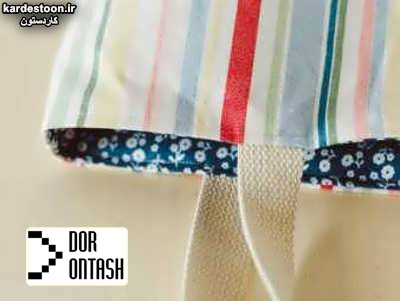
Now turn on the iron and turn the bag from the part you left open and using the iron you can erase the stitching lines.
Second training
Fabric making handmade Women’s bag
You don’t need much skill in sewing to sew a fabric bag, and if you are somewhat familiar with sewing and embroidery, you can make this beautiful bag. The choice of fabric for this type of bag is completely tasteful and you can use all kinds of fabrics with different designs.
To sew a girl’s bag, it is better to use soft fabrics with bright colors so that your child’s bag has the necessary charm in addition to beauty. To start, prepare the required fabrics for facing and lining and prepare the required patterns according to the image below.
Cut this number of patterns according to the photo.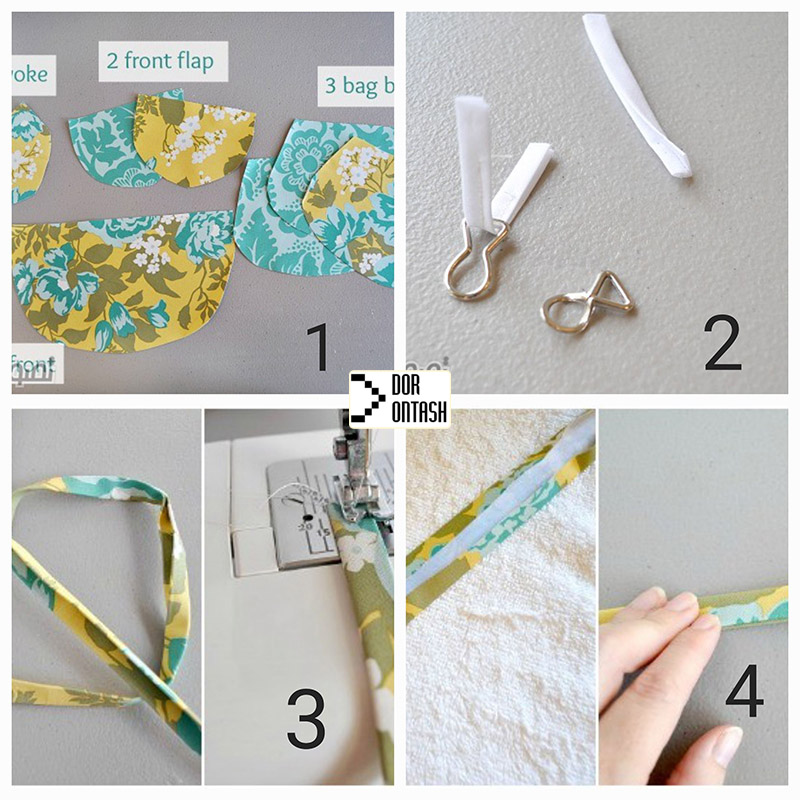
Sew strips for the strap connection loop.
Turn the edges of the work inside and sew.
Turn the edges of the work inside and sew.
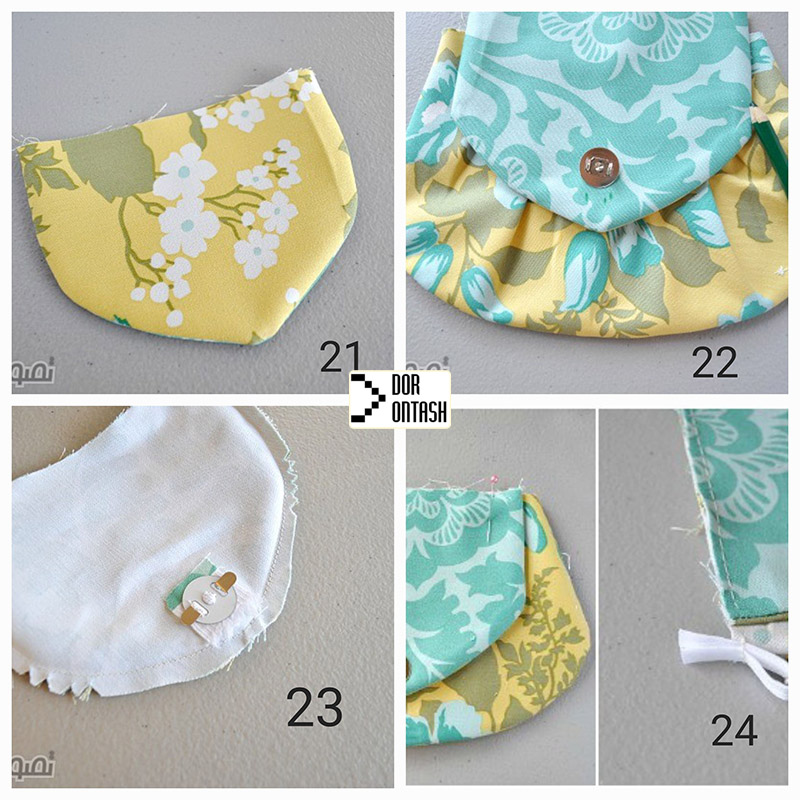
Then pull it in this way until it gathers and creases.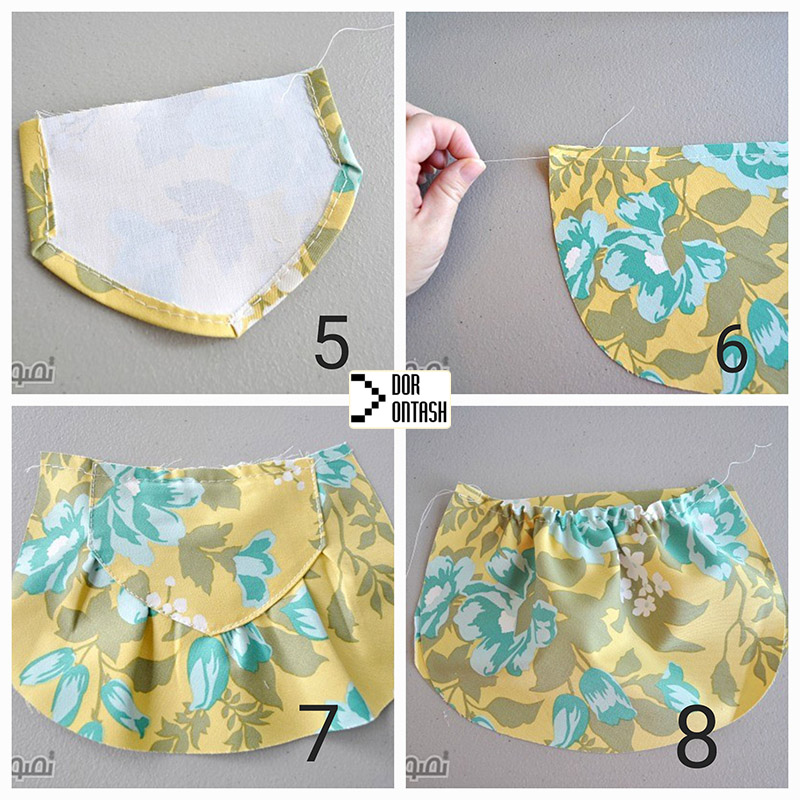
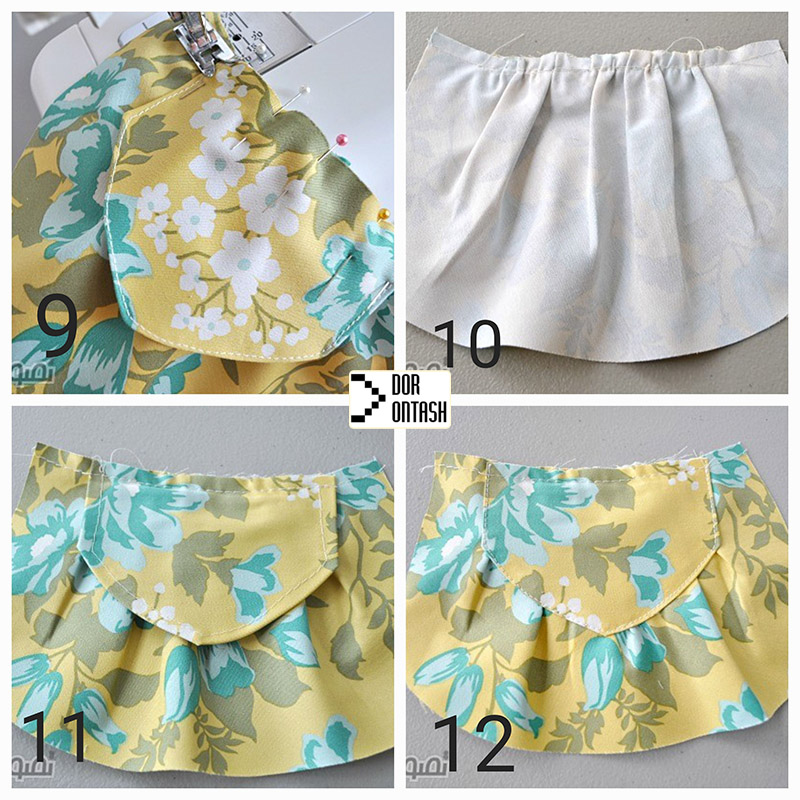
 You determine the place of the button and sew the opening and closing button of the bag in the specified place.
So far the front of the bag is finished.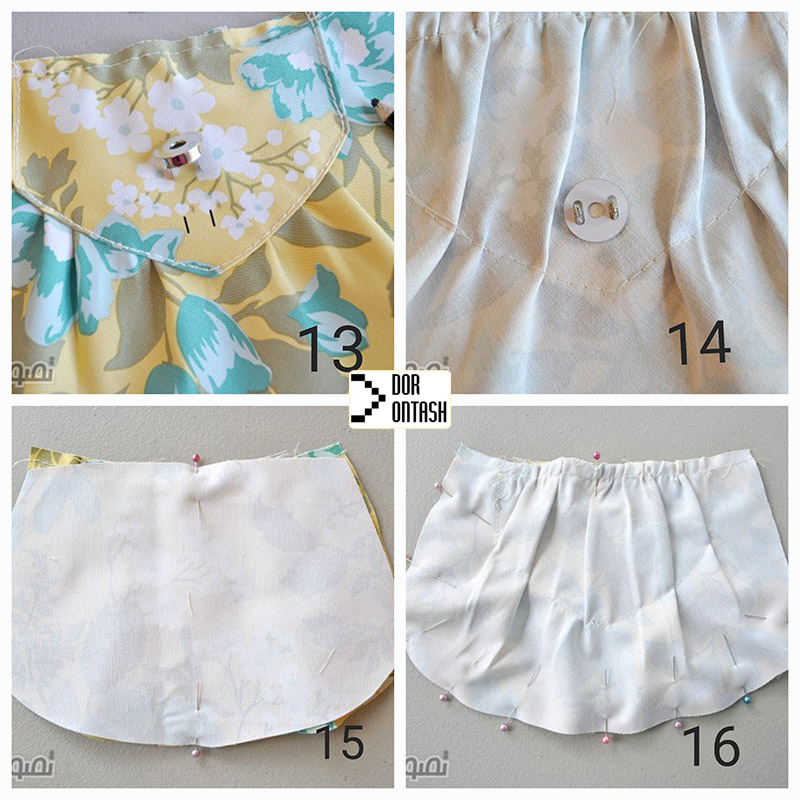
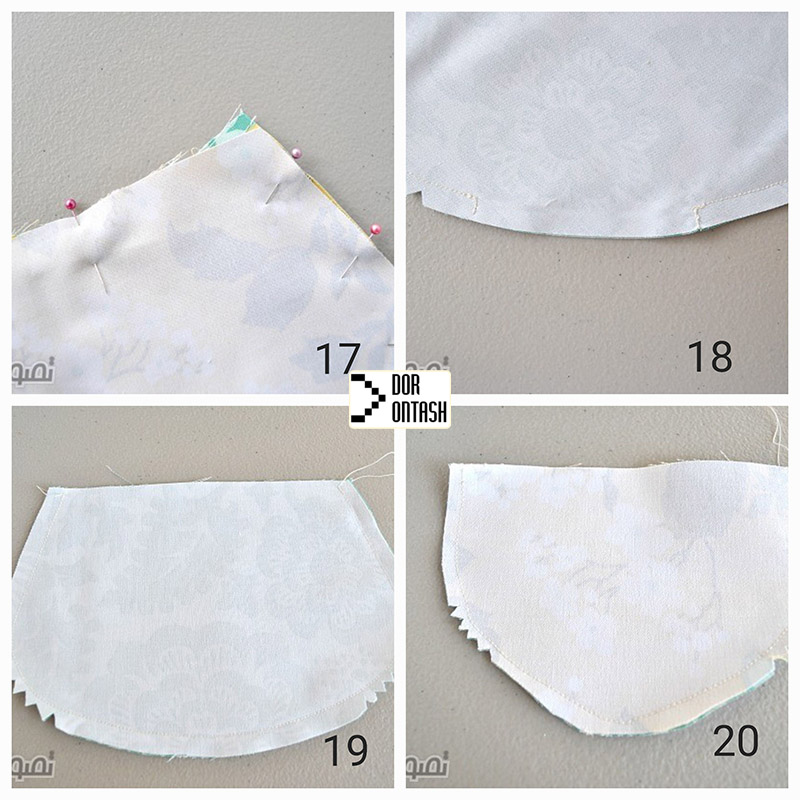
The pattern on the back of the bag and if you want to make a lining, first put it together and sew it.
This is also in the bag.
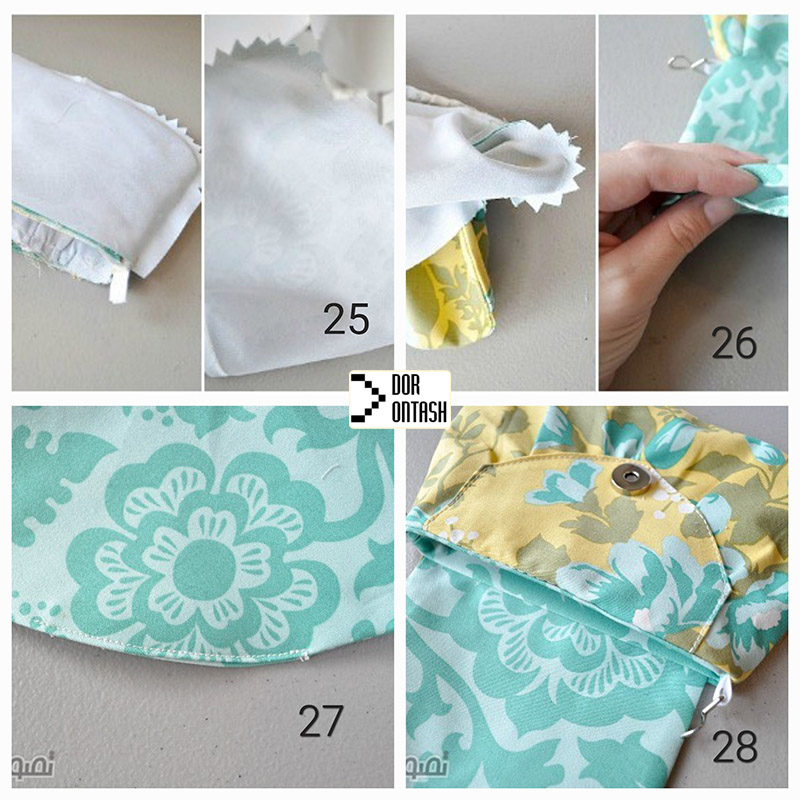
You put the strap of the bag from the inside between the lining and the fabric and sew it.
Get the right button for the bag from the scraps and attach it to the front pocket of the bag. If you are not able to do this, you can get help from skilled people or ask the button seller in Khorazi to connect the button to the fabric so that your bag is not only beautiful, but also functional.
This is also from our beautiful bag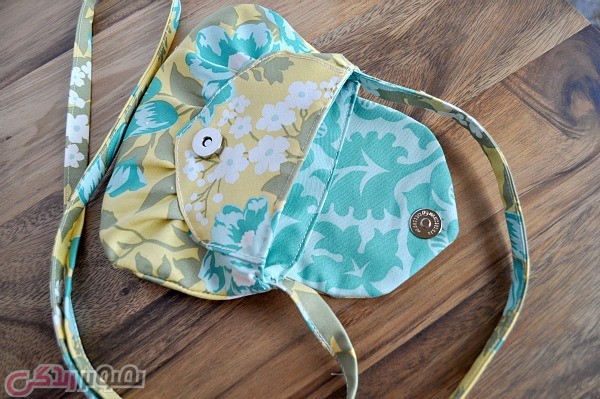
We hope you enjoyed this simple bag and handbag sewing tutorial. Follow the different models of the bag in other tutorials.
Also, follow other trainings of dorontash magazine, which you can easily start your own small business by training one of them.

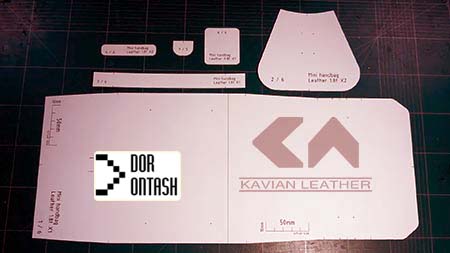
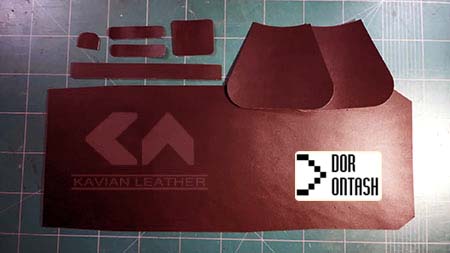
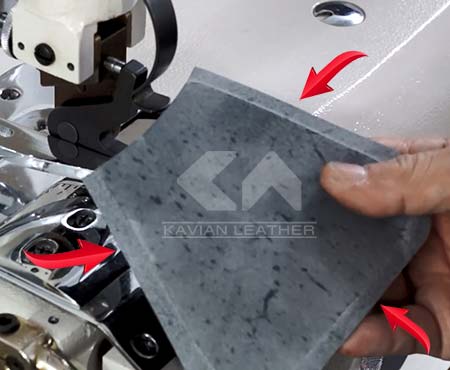
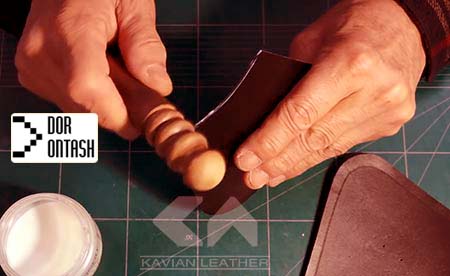
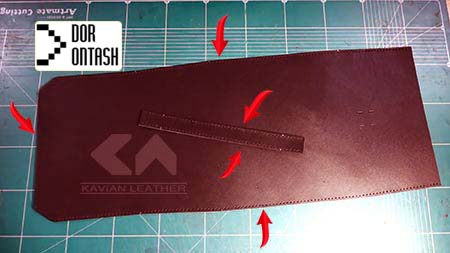
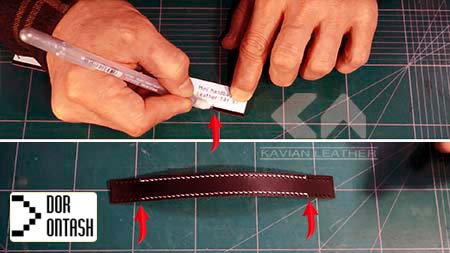
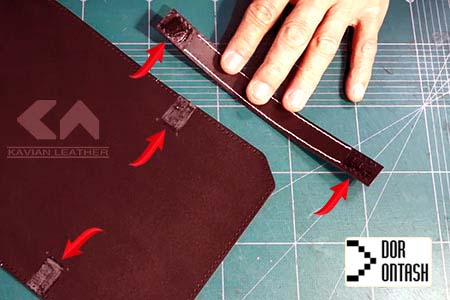
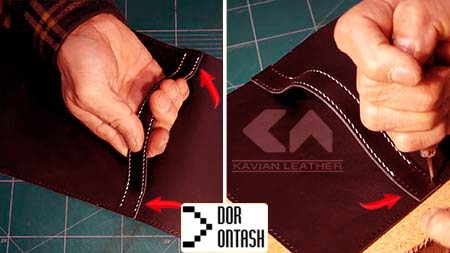
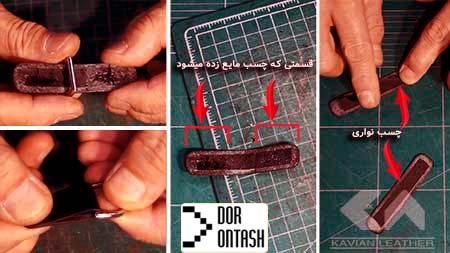
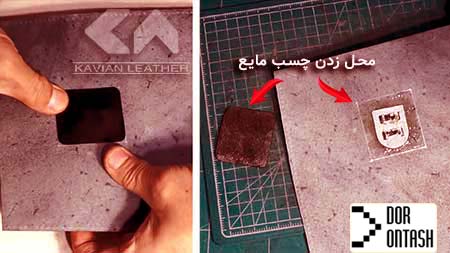
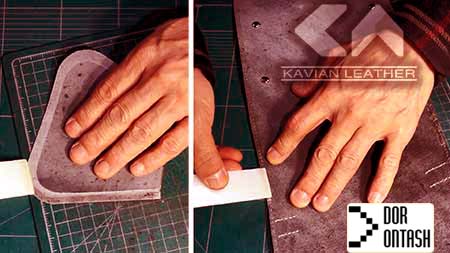
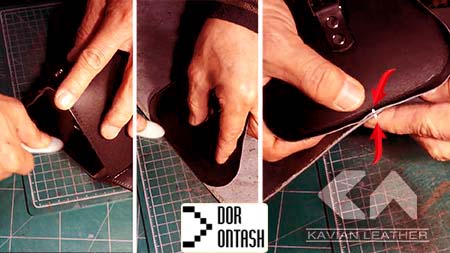 After gluing the body and the side together, pierce the corners with a semba and sew it with thread and needle.
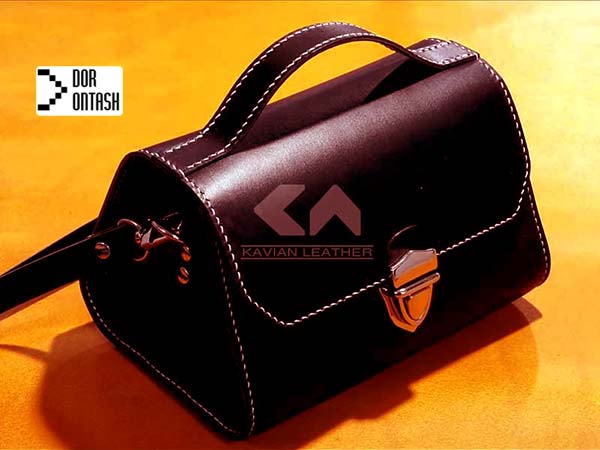
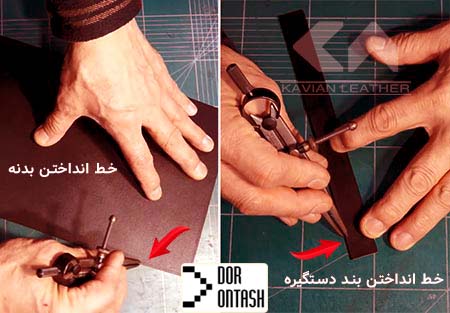
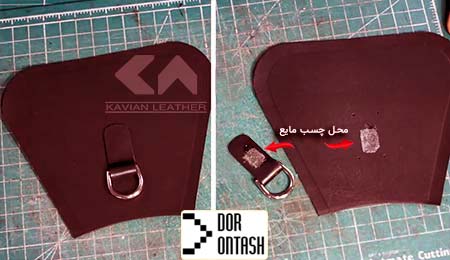
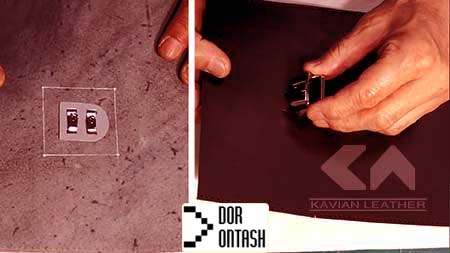
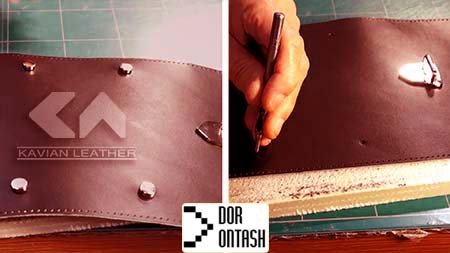
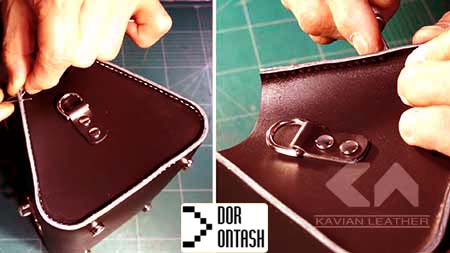 At this stage of sewing a leather bag, you must install the lock on the head part. Glue the part marked for this purpose at the head of the house as well as the part of the back of the piece cut for this part and stick them together according to the picture below. In order to connect the parts more precisely, pay attention to the lines drawn on the leather using the pattern. You also draw lines on the leather according to the pattern to glue the parts more precisely.
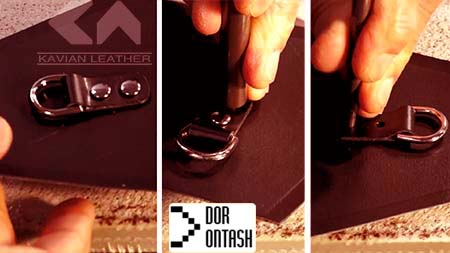
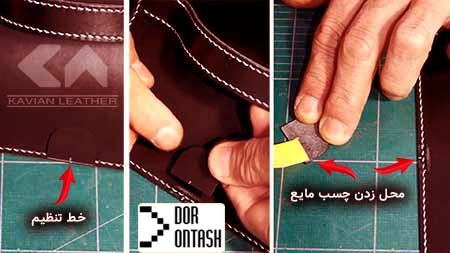 After gluing, make two holes on it using Sembe. Make sure that all the lines and holes that we create on the leather are clearly marked in the pattern. After drilling, put the lock holes on the holes you made and close it with screws.
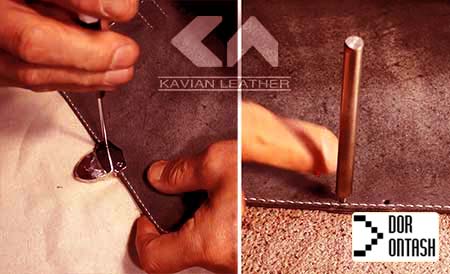 The last step is the bag strap, which should be cut on the leather according to the pattern and mounted on the bag by connecting the fittings.