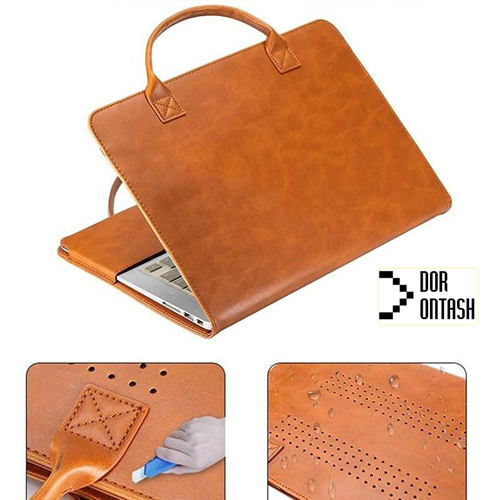
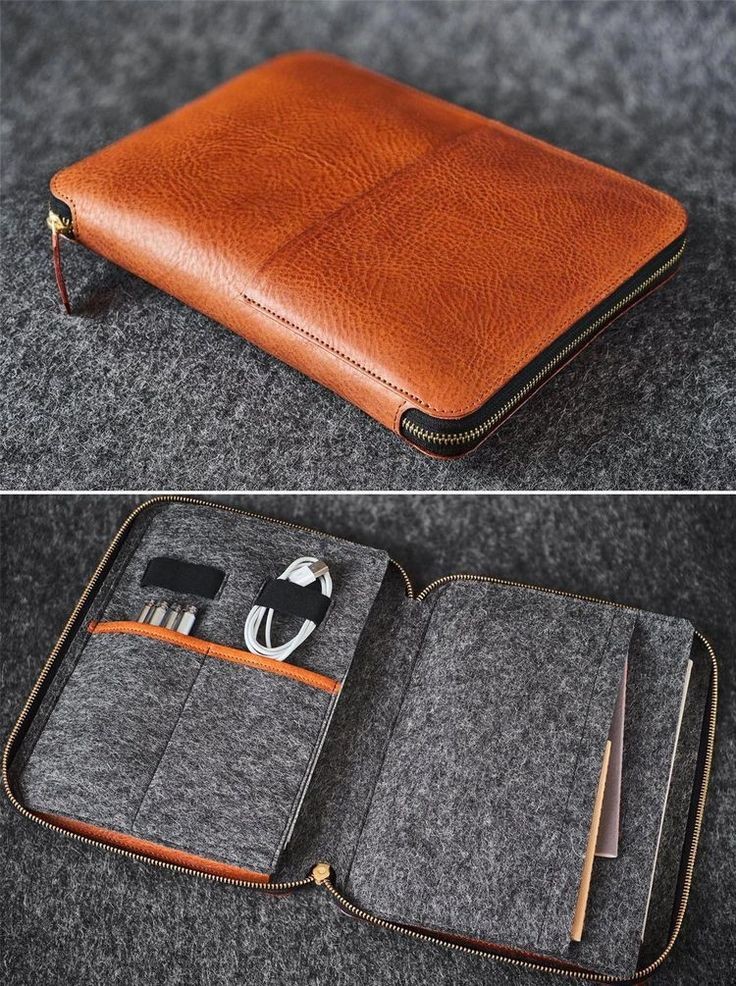
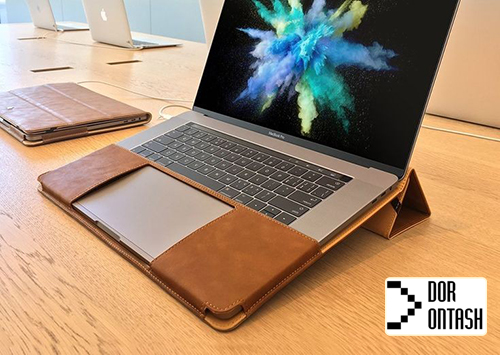
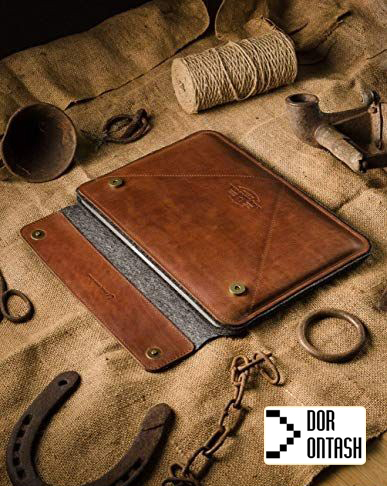
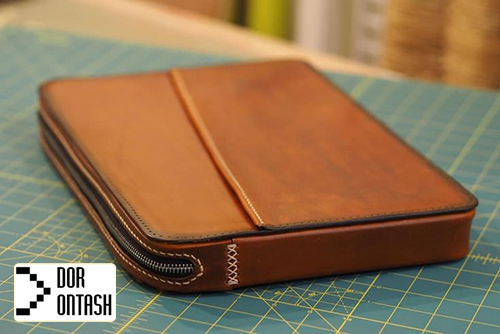
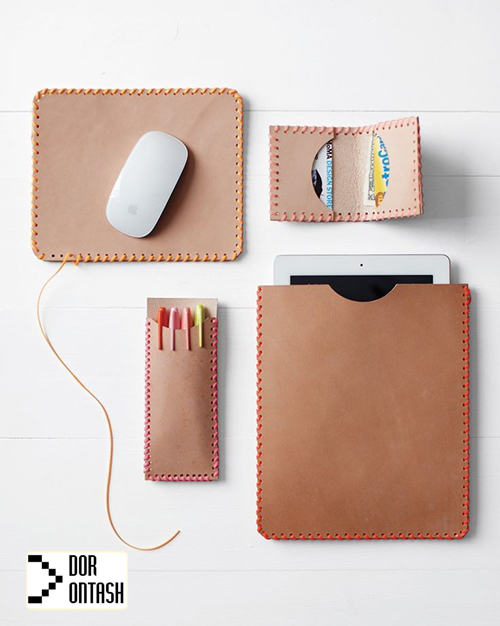
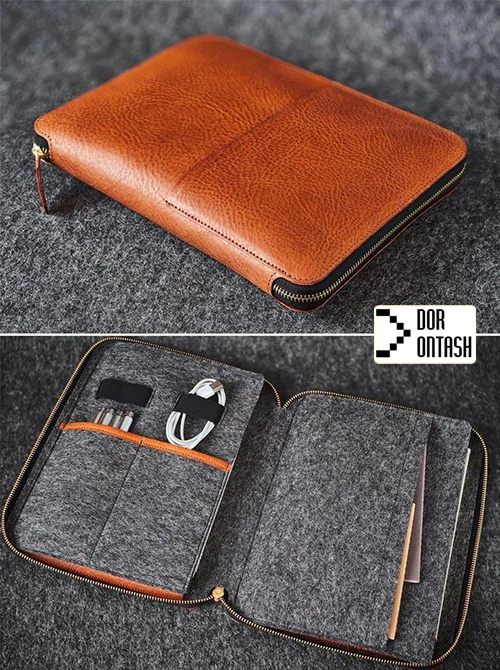
Education of leather embroidery may seem very challenging and difficult for those who are inexperienced in this field and have no prior knowledge of this art. However, the fact is that the art of leather embroidery is not that complicated. If you get to know the basic points and issues related to this work, you can make various items such as wallets, belts, jakarti and the like from leather in the shortest possible time. It is enough to know the necessary tools for leather embroidery and to know what steps to follow to make things like what was said.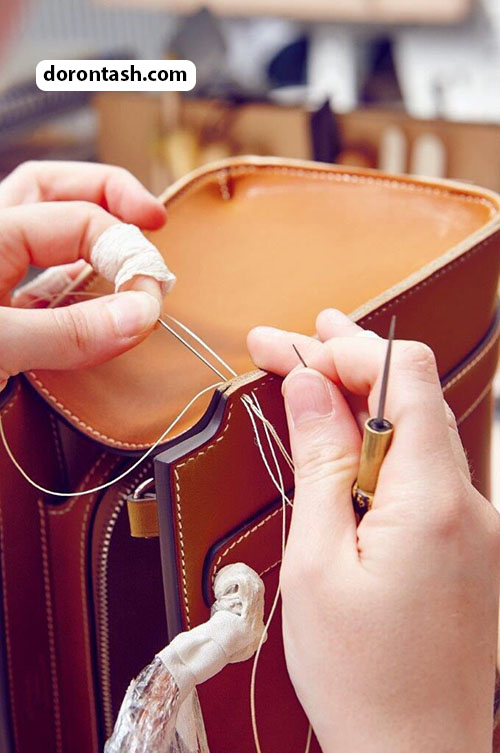
Leather embroidery training video at home
The art of leather embroidery is one of the branches of Iranian handicrafts that has a very long history in Iran.
Today, the art of leather embroidery is one of the most popular arts for generating income.
Iranians are known among the first leather producers in the world. And they have been producing leather since three thousand years ago. This very valuable date has been estimated by archaeologists from the remains of the era before Christ. Leather embroidery is one of the most famous and popular iran handicrafts .
The remaining works show that since about 1500 BC, Iranians used leather to prepare clothes, shoes, armor, weapons, etc.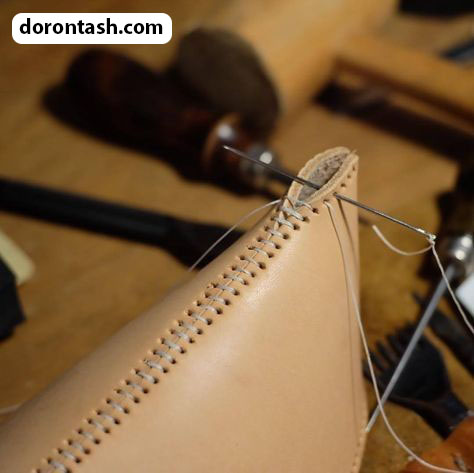
History of leather embroidery
The history of this art goes back to prehistoric and ancient times, or in other words, 400,000 years ago. The Stone Age has been one of the longest periods in human history. When the early man hunted for food, they realized that it was very difficult to preserve the meat of animals because it quickly rotted or dried out and lost its flexibility.
Early humans realized that animal skin can be a good option for protection. And this idea can be considered the beginning of using leather.
The art of leather embroidery is one of the most popular arts that you can easily earn money with. If you want to learn this art in a basic way, you should first get to know the basic tools that you need to prepare to start working with iodine. In this article, we have introduced you all the tools needed to start working in leather embroidery training, which you must prepare to start working.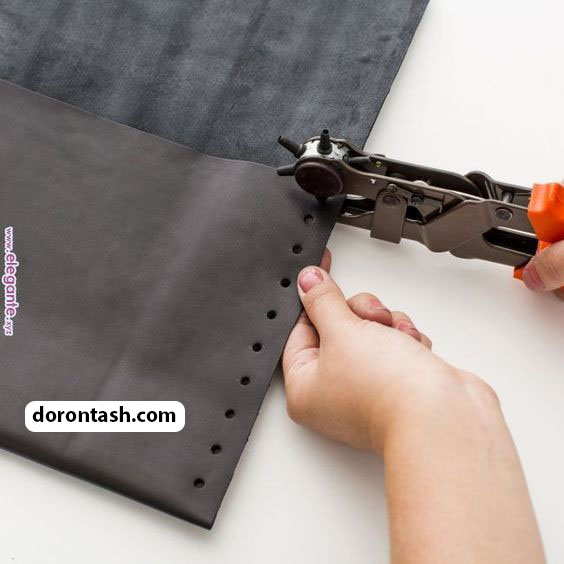
Leather embroidery tools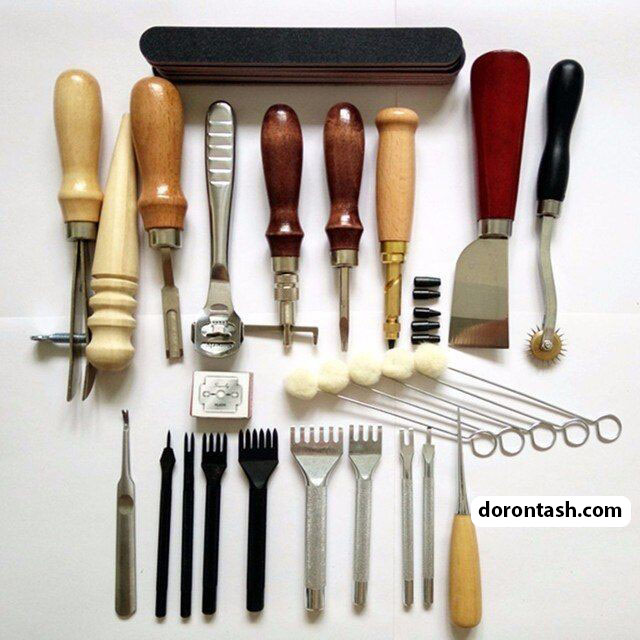
-
carpet cutting razor
Although you may be able to cut all types of leather with a pair of sharp scissors, a paper cutter or multipurpose carpet cutter will always make a clean cut on your leather. In addition to cutting your patterns once with this tool, it also gives you the opportunity to have a better view of your leather when making cuts.
-
Wooden handle door
A well-made and ergonomic wooden handle that you can easily change the tip to suit the needs of your project is essential for working with leather. Choose the handle of the lid so that at least one side is flat, so that when you put it on the work surface, it will not roll away from you. Diamond tips are very practical. They create a small x-shaped hole in the leather that allows the stitches to pass through and causes the material around the hole to wrap around your thread for a flawless finish.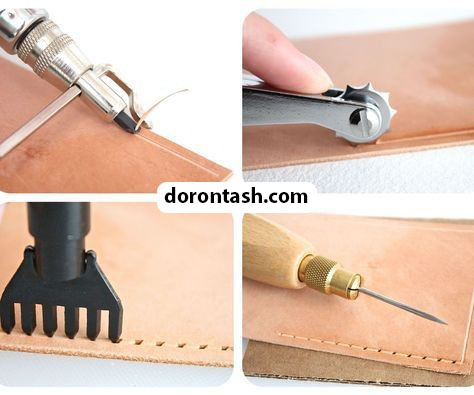
-
Leather sewing needle
When sewing leather, you need a strong and long needle that can easily pass through two layers. Although leather sewing needles must be strong, they don’t have to be sharp. Most of the time you pass them through pre-drilled holes. Three needles of different lengths and eye sizes are sufficient for most leather embroidery projects.
-
synthetic yarn
When sewing with leather, use a bonded synthetic thread. These threads are stronger and more useful than their natural counterparts. Bonded nylon thread is a particularly strong thread and is available in both waxed and unwaxed varieties (waxed thread often provides more adhesion when working with soft leather).
-
punching machine
Leather punches are available in different sizes, widths and shapes. Smaller punches are great for making holes that are pre-drilled for thread to pass through, while larger punches can easily make holes the size of a watch band or belt hole. You can use punches that have patterned holes for a better effect of your design.
-
hammer
Use a multi-headed mallet to apply pressure to the various tools you use on your leather. The hammer is used to make holes or grooves. In fact, you can use a mallet whenever you need to apply pressure to your tool to hit the leather. Always use a polymer or plastic mallet instead of a metal hammer when working with leather to avoid damaging your material.
-
Wooden horseshoe
It is very important to keep your project stable while working. So having a clamp is really necessary. Experienced craftsmen can make a horse leg clamp themselves with scraps of wood and a few screws. Of course, relatively cheap ready samples of this device are also available in the market.
-
beveled leather
Although cutting leather edges diagonally in the leather embroidery profession is more decorative, but this tool can be used to create a groove for easier and more accurate leather sewing. To start, get two sizes of it.
-
glue
Even if you want to temporarily hold the leather together while you’re sewing, glue can be a really useful ingredient. Be sure to use adhesives that have a safety formula for leather for your projects. There are a variety of adhesives available at craft and paint stores that are compatible with leather.
-
cutting mat
Protect your work surface with a sturdy plastic cutting mat when making cuts or edging leather. This mesh mat, which is also graded, can be used as a measuring tool and ruler.
-
female groove
When you need to create a smooth groove to guide a seam or finish an edge, a groover is a must-have tool. Leather gouges have a metal piece to guide the edge (which is often removable), to ensure that the gouges are straight and that you can control the pressure you apply to the leather.
-
roller cutter
If you are sewing your leather project by hand, use a leather roller cutter to measure the stitch spacing before making holes with the flap and sewing with thread and needle.
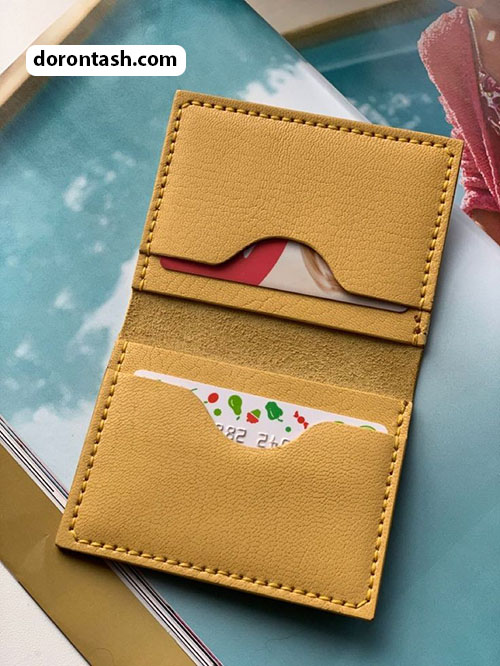 Teaching leather embroidery by hand
1. Pattern design and preparation
The first step in learning leather embroidery is to design and prepare a pattern. Our suggestion is to use grid papers to do this, which make it easier to design the pattern and make your work easier in terms of measurements. After you have designed and drawn the desired pattern on checkered paper, stick the paper on a piece of fine cardboard (such as cornflakes packaging cardboard and similar products) that will be more durable and you can use it later if needed. There are many patterns for leather products on the internet that you can use to get started.
2. Choice of leather
When you have chosen the desired pattern for leather embroidery, it is time to choose the leather. Leathers are available in various colors and designs. You can choose among them depending on your taste and discretion, according to the device you want to make.
Leather is relatively expensive. We recommend that you take the time to choose from a variety of models and colors and make a smart choice. To buy leather, it is better to visit a leather store in person. In this way, you can closely and carefully check the color and design of all types of leather models.
Leather is usually sold by weight. The lower the weight of the leather, the less thick it will be. In the list below, you can see the appropriate weight for making all kinds of leather goods:
- 2 to 3 ounces for a leather wallet (each ounce is roughly equivalent to 28 grams);
- 4 to 5 ounces for a leather bag;
- 8 ounces and up for things like belts that are thicker.
It is better to avoid buying very fine leathers to make things like wallets, because they will wear out quickly and lose their original shape.
3. Cutting leather according to pre-prepared patterns
Cutting is one of the key and important steps in leather embroidery training. The quality of the final product will depend to a large extent on the accuracy and delicacy that you spend at this stage of the work.
Draw the pattern on the leather using a heat marking pen or a regular leather pen. Then, with the help of a cutter or any other device you have installed for this purpose, start making cuts on the leather. Before moving on to larger projects, we recommend that you practice cutting on smaller, cheaper pieces of leather to familiarize yourself with the craft. The cleaner you cut, the nicer the edges of the leather will look.
Use a ruler to cut straight lines and things like coins or bowls to cut curved lines. You can also use special scissors to cut leather, which is a bit more difficult and requires more practice and skill. Sharpeners and embroidered leather knives that have a curved blade are ideal choices for beginners. An extremely important thing to remember is to sharpen the knife, scissors, or anything else you’re going to use to cut the leather.
4. Stitching the edges of the leather together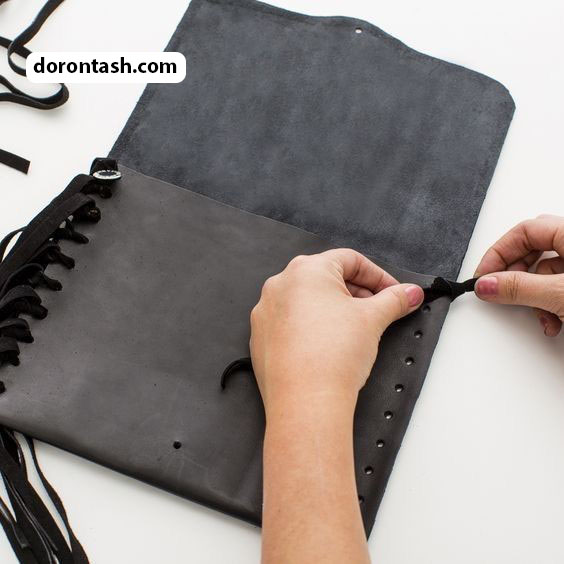
The most sensitive and probably the most difficult step in the discussion of leather embroidery training is the method of sewing the sides of the leather on each other. For this purpose, a technique called “saddle-stitching” is used, which requires a little skill. If you are not familiar with it, it is better to watch some training videos on how to do it before you start doing it.
The working method is that first, using a template or any other device you have prepared, you determine the points that need to be pierced on the leather (points that are placed at equal distances from each other). Then, using two tools, a mandrel and a punch (or hammer), you start drilling these points. Place the sides on top of each other. Preferably, it is better to apply glue between the two layers so that there is no problem with them moving during sewing. Then thread the needle and start sewing.
5. Finishing and painting the sides of the leather
Finishing and coloring is the last step in the discussion of leather embroidery training. There are various solutions available for this purpose. Depending on your taste and discretion, you can use any one you want. In the following, we will describe the implementation steps of one of these solutions:
- Take the leather beveling mandrel and pull it flat and straight on the sides;
- Take the not-so-rough sandpaper and drag it on the sides with a little pressure;
- Get a color that is exactly the same color as the leather you have chosen to work with, dip a tarpaulin or wool cloth in it and run it over the sides until they are completely the same color as the leather (you don’t have to paint the sides and if you prefer their current shape, you can skip doing this);
- After that, it is time to pay and polish the sides. To do this, it is enough to slightly moisten the sides with water and then, draw a canvas cloth over them to make them darker and more shiny;
- Finally, dip another piece of tarpaulin in wax and pull it over the sides.
If you wish, when painting the edges of the leather, you can use darker or lighter color backgrounds than the original leather color, which if chosen with taste, will give a pleasant and beautiful appearance to the finished product.
This was the leather embroidery training in 5 important and basic steps that you should know. In the following article, we will tell you how you can make 3 interesting and practical leather products according to what you have learned so far.
Step-by-step tutorial on how to make a small triangular pocket bag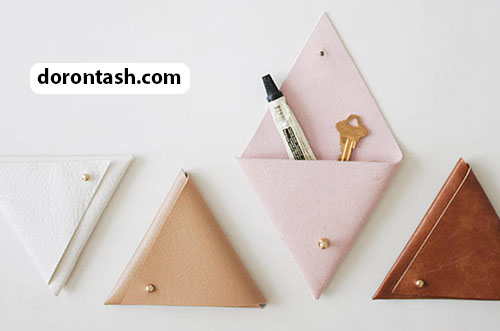
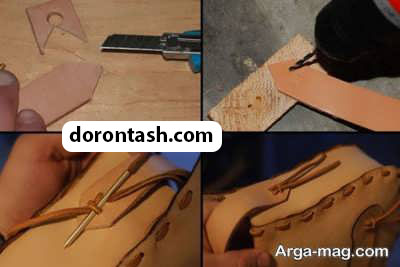
You can see the pattern from which you are going to make this triangular pocket bag in the picture below. A trapezoid in which three triangles of equal size can be drawn:
- Place three equal-sized triangles on top of each other like you see in the pictures below;
- Mark the point that is going to become the lock of the pocket bag with a pencil and make a hole in it (one picture left to the end);
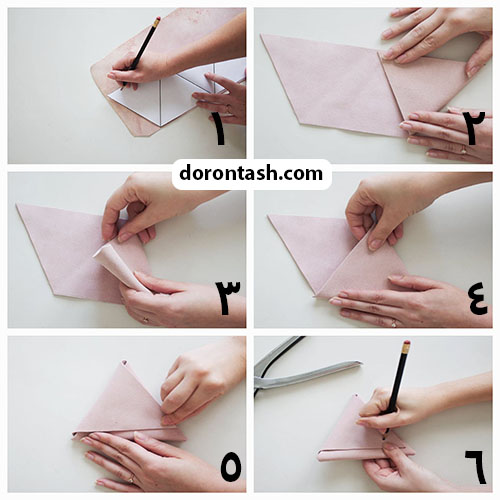
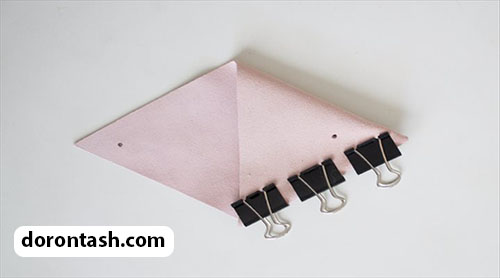
- Like what you see in the last picture, put two triangular shapes on top of each other and glue the sides of these two to each other;
- Hold the triangles together with clips and leave it to dry overnight;
- The next day, attach the padlock-like screw you made earlier to the hole in the bottom of the pocket bag (the two triangles glued together) and use it to open and close the bag.
The steps of sewing a circular leather bag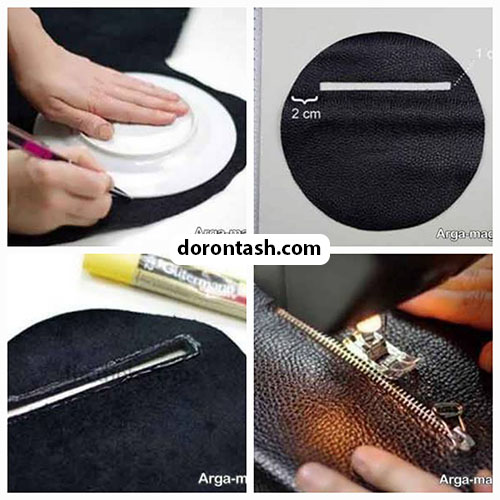
1. The size of this bag model depends on your personal taste and you can sew this leather bag model in any size you want.
2. To sew a leather bag, you can draw two circles of the same size with the help of a plate or bowl or with the help of a pen and pencil on the leather and cut them.
3. Create a zipper place on one of the circles with the help of a cutter. Note that the zipper place should be created at a distance of two centimeters from the edge of the circle and its height should also be one centimeter. Also, this zipper is used as a bag lid, so it should be placed on top of the bag.
4. In this stage of the leather embroidery process, you should be a little delicate and stick the zipper gap to the leather with glue. Note that the glue helps to keep the zipper in place and not move. .
5. Glue all around the bag, then glue the two cut circular layers on top of each other.
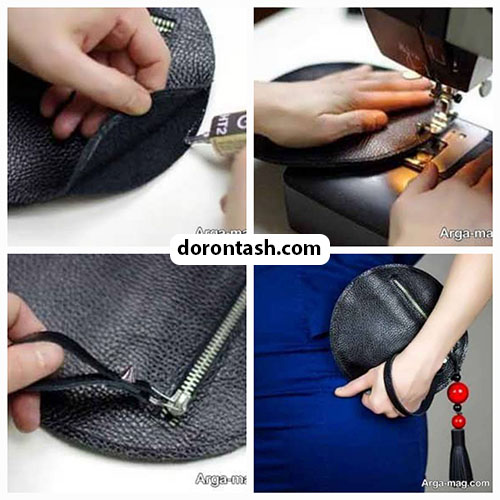
6. Sew around the zipper with the help of a sewing machine.
7. Roll the bag around.
8. To sew the bag handle, you can connect the leather strap to the bag zipper.
9. Note that you can easily sew this bag at home and use it in parties and gatherings.
Leather bag sewing steps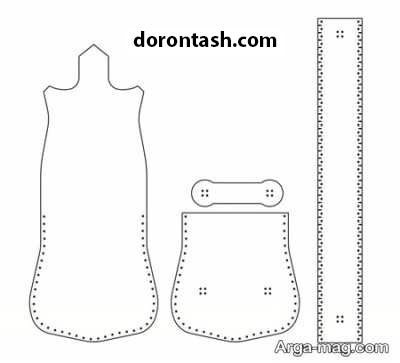
1. Take a print from the pattern below, note that the measurements are in centimeters.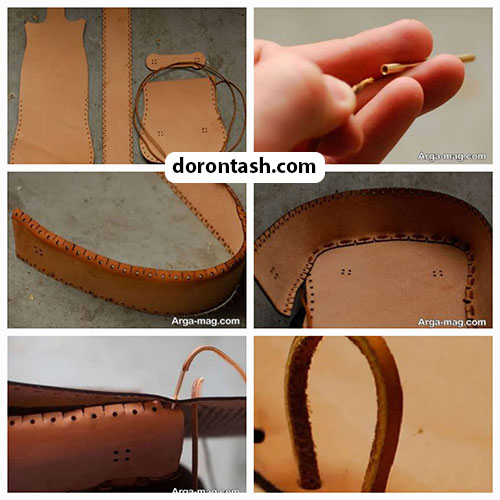
2. Copy the pattern on the back of the leather and draw around the pattern with the help of a gel pen, and after transferring the pattern to the leather, cut the leather with scissors or a cutter.
3. After you remove the pattern of the bag from the leather, first sand all the way around the work and then pierce it. Note that the distance between the holes should be half a centimeter from the edge of the work, and the distance between each hole and the next hole should be half a centimeter. If you want to sew this bag with triche thread, you should consider the distances to be one centimeter.
4. At this stage, pass the embroidered leather through the special needle.
5. After sanding the wall of the bag, cut the edges of the wall with the help of half-centimeter cuts
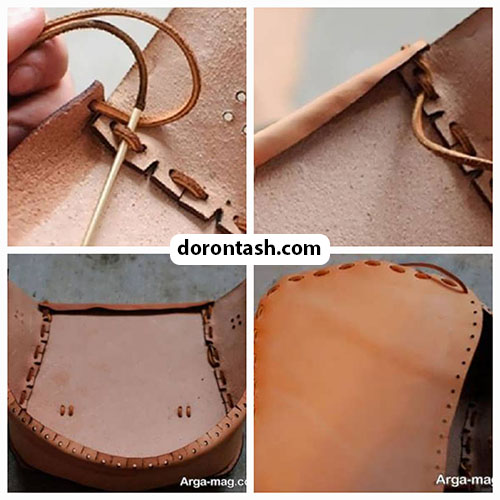
Easily attach to the back and front piece.
6. Sew the bag wall to the front piece of the bag first.
7. Continue this sewing method model and pay attention that the triches do not twist.
8. Sew the back of the work as below and don’t forget to fasten the work in sewing this leather bag model.
9. At this stage of sewing the leather bag, turn the front edge of the bag and secure it with a stitch.
10. Sew the back of the bag in the same way.
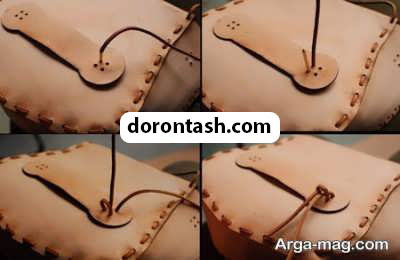
11. At this stage, sew the bag holder, which is mostly decorative. 12. Sew the straps of the bag as follows.
Tutorial on hand-embroidered leather bag for laptop.
This model of bag can be made very simply and quickly and used as a laptop bag, of course, it can also be used as a normal handbag.
Video tutorial on making a leather wallet
Video of making a leather switch holder
Video of making a leather mobile phone cover
Video of making an embroidered leather handbag
Frequently asked questions about leather embroidery training
The number of materials needed for leather embroidery work is minimal and they have a low price. This work does not require a special machine and you can work by just preparing a few simple and cheap tools and a small amount of leather. Start yourself. You don't need to rent a place for work and production, and you can produce your leather products in the same corner of your room. Regarding renting a place to present products for sale, it should be said that leather products have high sales and do not need You don't have to rent a place and you can sell them on social networks such as Instagram and Telegram. In general, it should be said that earning money with leather embroidery is very easy and you can count on starting a leather embroidery business with an approximate capital of 3 million Tomans.
In addition to the leather embroidery tools and leather mentioned above So, choosing a high-quality education and an experienced instructor can be one of your first steps in this way. It is our pride to guide you towards your goal by providing coherent and step-by-step training by our experienced teachers and to be with you like a friend and colleague in all stages. Another important point is that you do not lose your motivation after training. We keep the passion and motivation burning by creating a popular site and Instagram page and placing attractive leather content among our trainees.
Kaviyan leather embroidery tutorial is explained quite simply and you will learn it completely with any age and literacy level. There are no points left that we have left for you to learn leather embroidery; Also, all these points are stated clearly and without exaggeration so that the training can be understood by everyone.
How much does leather embroidery cost to get started?
What do I need to start leather embroidery?
Is leather embroidery hard? And after seeing the tutorial, I will learn it completely?
Leather work market in Iran
To start marketing your handmade leather, you can start with small products such as jakarti, wallet, makeup bag, small and solid handbags; Because the production process of these products is shorter and you can sell them using cold marketing such as selling on DigiKala, social networks, related sites, Wall, Trumpet and warm marketing such as family marketing, friends and close friends. These steps will make you reach the initial income of leather embroidery and take the next steps to establish a small workshop and purchase equipment and hire staff. All these steps require taking the first step, that is, starting the leather embroidery.” image-3=”” count=”4″ html=”true” css_class=””]


